
Optical Link Budget Calculation: Loss Margin, Sensitivity and Overload
Calculate an optical link budget by separating transmit power, receiver sensitivity, fiber and connection loss, design margin and receiver overload without substituting generic numbers for a PMD specification.
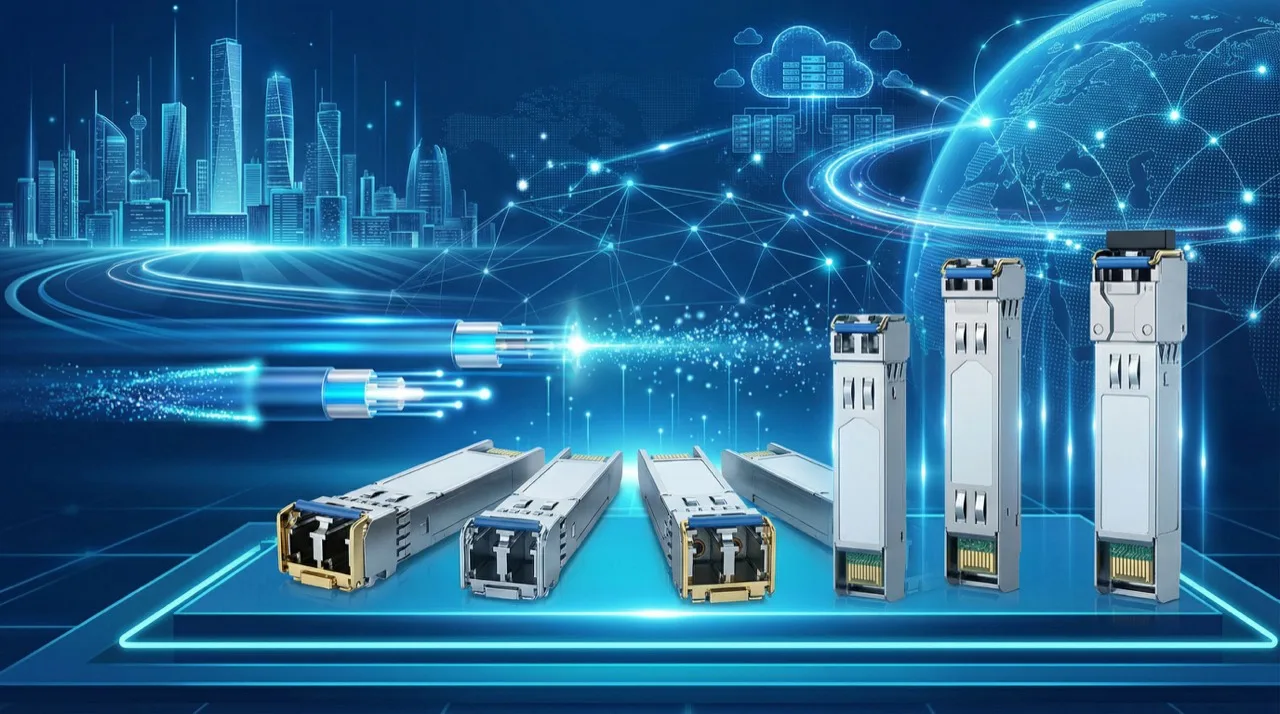
Selection Comparison
Optical link-budget inputs and acceptance actions
| Input | Calculate or record | Why it matters | Acceptance action |
|---|---|---|---|
| Transmit power | Use the minimum, typical or maximum value defined for the ordered P/N | Sets the budget starting point | Retain diagnostics, measurement conditions and port state |
| Receiver sensitivity | Use the Rx sensitivity from the exact PMD specification | Sets the lower receive boundary | Keep sensitivity separate from overload |
| Path loss | Add fiber, connectors, patch cords, panels, splices and margin | Consumes the available budget | Record each segment, connection and measured loss |
| Loss margin | Available budget minus designed path loss | Covers qualified uncertainty | Do not replace it with an unsupported fixed percentage |
| Receiver overload | Received power must stay below the PMD maximum input | Very low-loss links may also fail | Check long-reach optics on short paths against the specification |
Start with the exact PMD specification
A link budget is not a generic dB value converted from the reach label. Obtain the transmit-power window, receiver sensitivity, receiver overload, connector requirements and reach conditions for the ordered P/N and PMD, then add fiber, patch cords, panels, adapters, splices and design margin. Without a specification, document the method rather than inventing product values.
Use available budget minus actual path loss
The available optical budget can be understood as the difference between the permitted transmit minimum and receiver sensitivity, with the real path loss deducted to show remaining margin. Follow the exact PMD definitions and test conditions. Do not mix typical, minimum and maximum values or use a nominal reach as measured loss.
Separate every loss source
Break the path into fiber, endpoint connectors, patch cords, panels, adapters, splices and other intermediate connections. For MPO, record lane mapping, polarity and end-face condition. For LC or CS, record Tx/Rx direction, fiber pairs and patch points. Segment-level records make later troubleshooting reproducible.
Loss margin is not one universal percentage
Margin depends on the PMD, path length, connection count, fiber condition, maintenance plan, temperature and measurement uncertainty. Keep a separate design-margin field, but do not publish one fixed 1dB, 3dB or percentage commitment without a standard, specification or validated project basis.
Check receiver sensitivity and overload together
Power below sensitivity reduces link margin, while power above the overload boundary may also cause errors or instability. Long-reach optics on a short, low-loss path are not automatically more reliable. Validate the receive window and any attenuation requirement against the exact PMD specification.
Use standards and management specifications as lookup indexes
When recording rate, PMD, form factor, fiber, connector and FEC, IEEE, the relevant MSA, CMIS or SFF-8636 can provide lookup directions, but a standards label is not a compatibility guarantee. Check the target host documentation, transceiver specification, management fields and remote PMD. Mark unsupported details as pending source material.
Build an acceptance record that can be replayed
Record the link ID, host and software, both transceiver P/Ns, rate and PMD, fiber, length, connectors, panels, measured loss, Tx/Rx power, receive window, FEC, errors, temperature, test duration and conclusion. Link the budget record to troubleshooting and batch acceptance instead of retaining only one final dB number.